

How To Draw A Man Figure
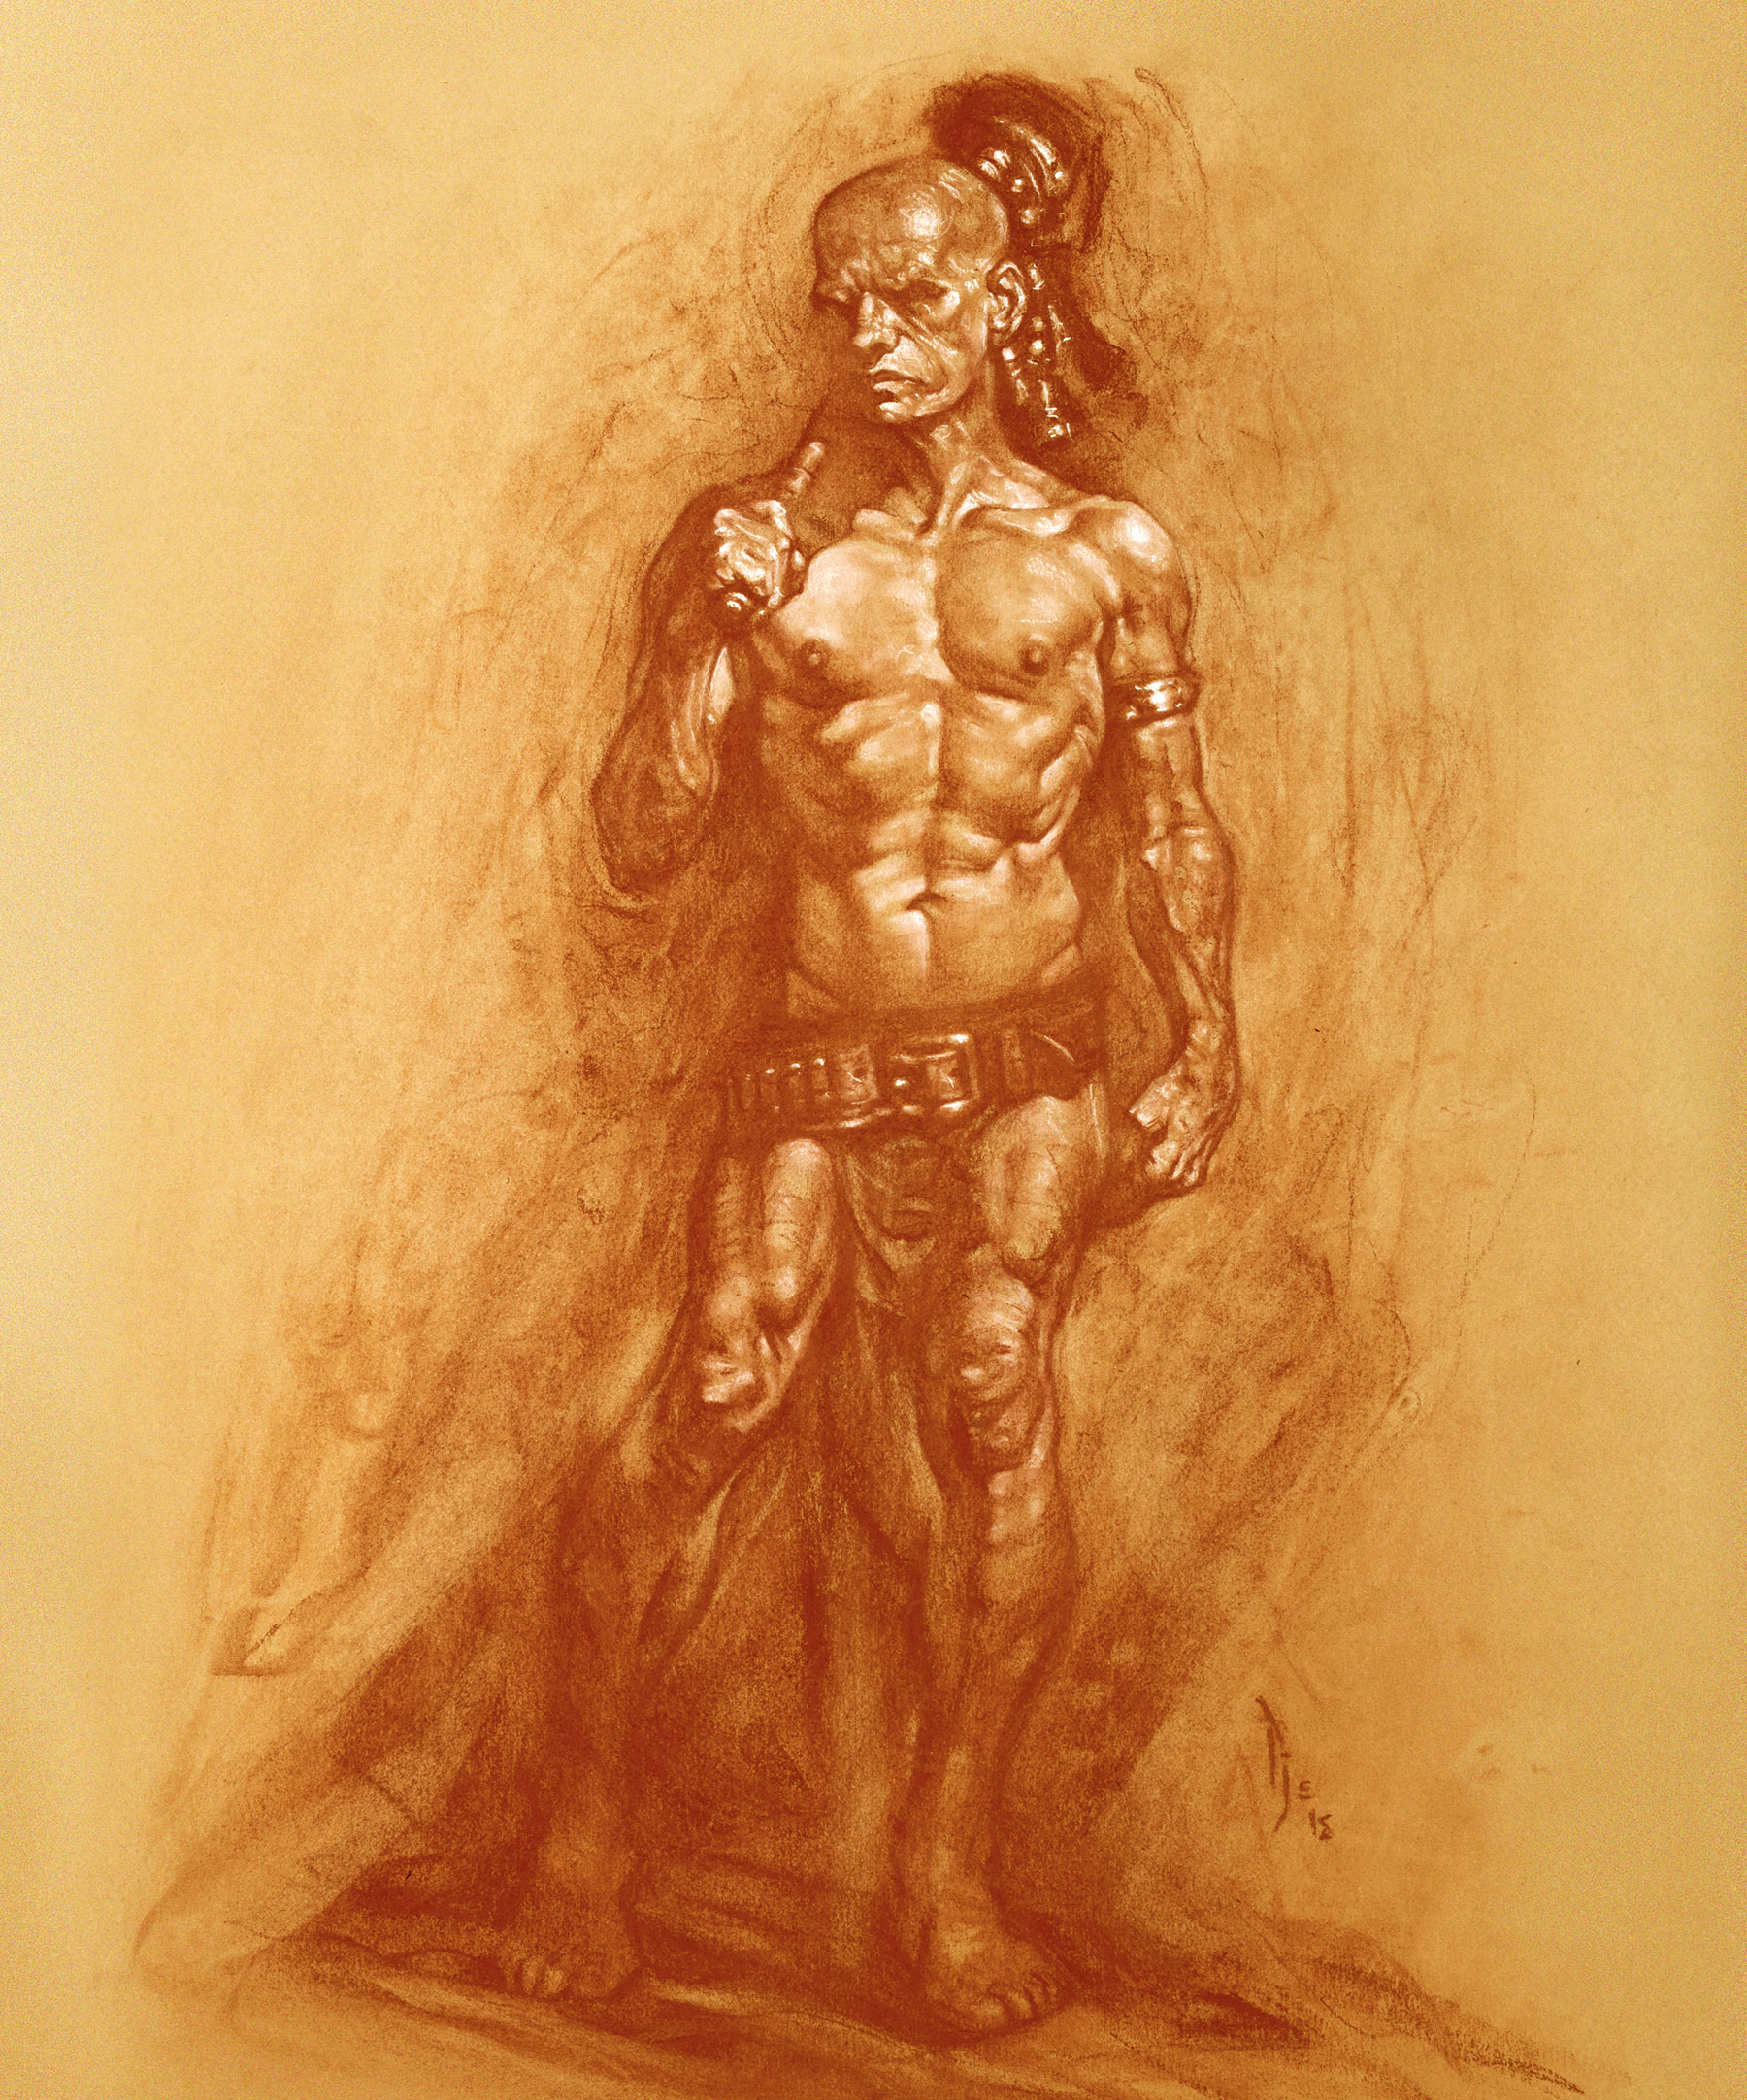
Now let's focus on how to draw a male figure. Our figure here is in a contrapposto pose – this Italian term means counterpoise, or counterbalance, and refers to a figure balancing more weight on one side, usually the straight-leg side of the body, in a standing pose. The most famous contrapposto artwork is probably Michelangelo's David.
Art terms like this are a great way to get your head around the creative process. Check out our art terms glossary for more explanations of commonly used terms.
Above is an in-depth video tutorial, or read on for a step by step guide to how to draw a male figure.
Click the icon in the top right of each image to enlarge it
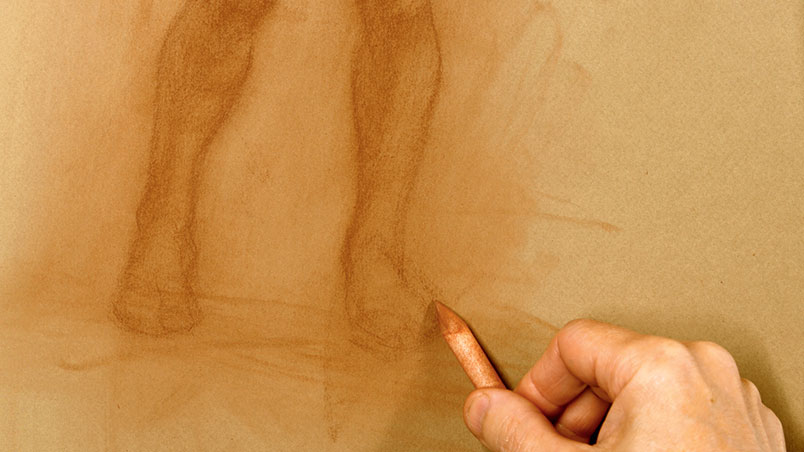
01. Start with basic shapes
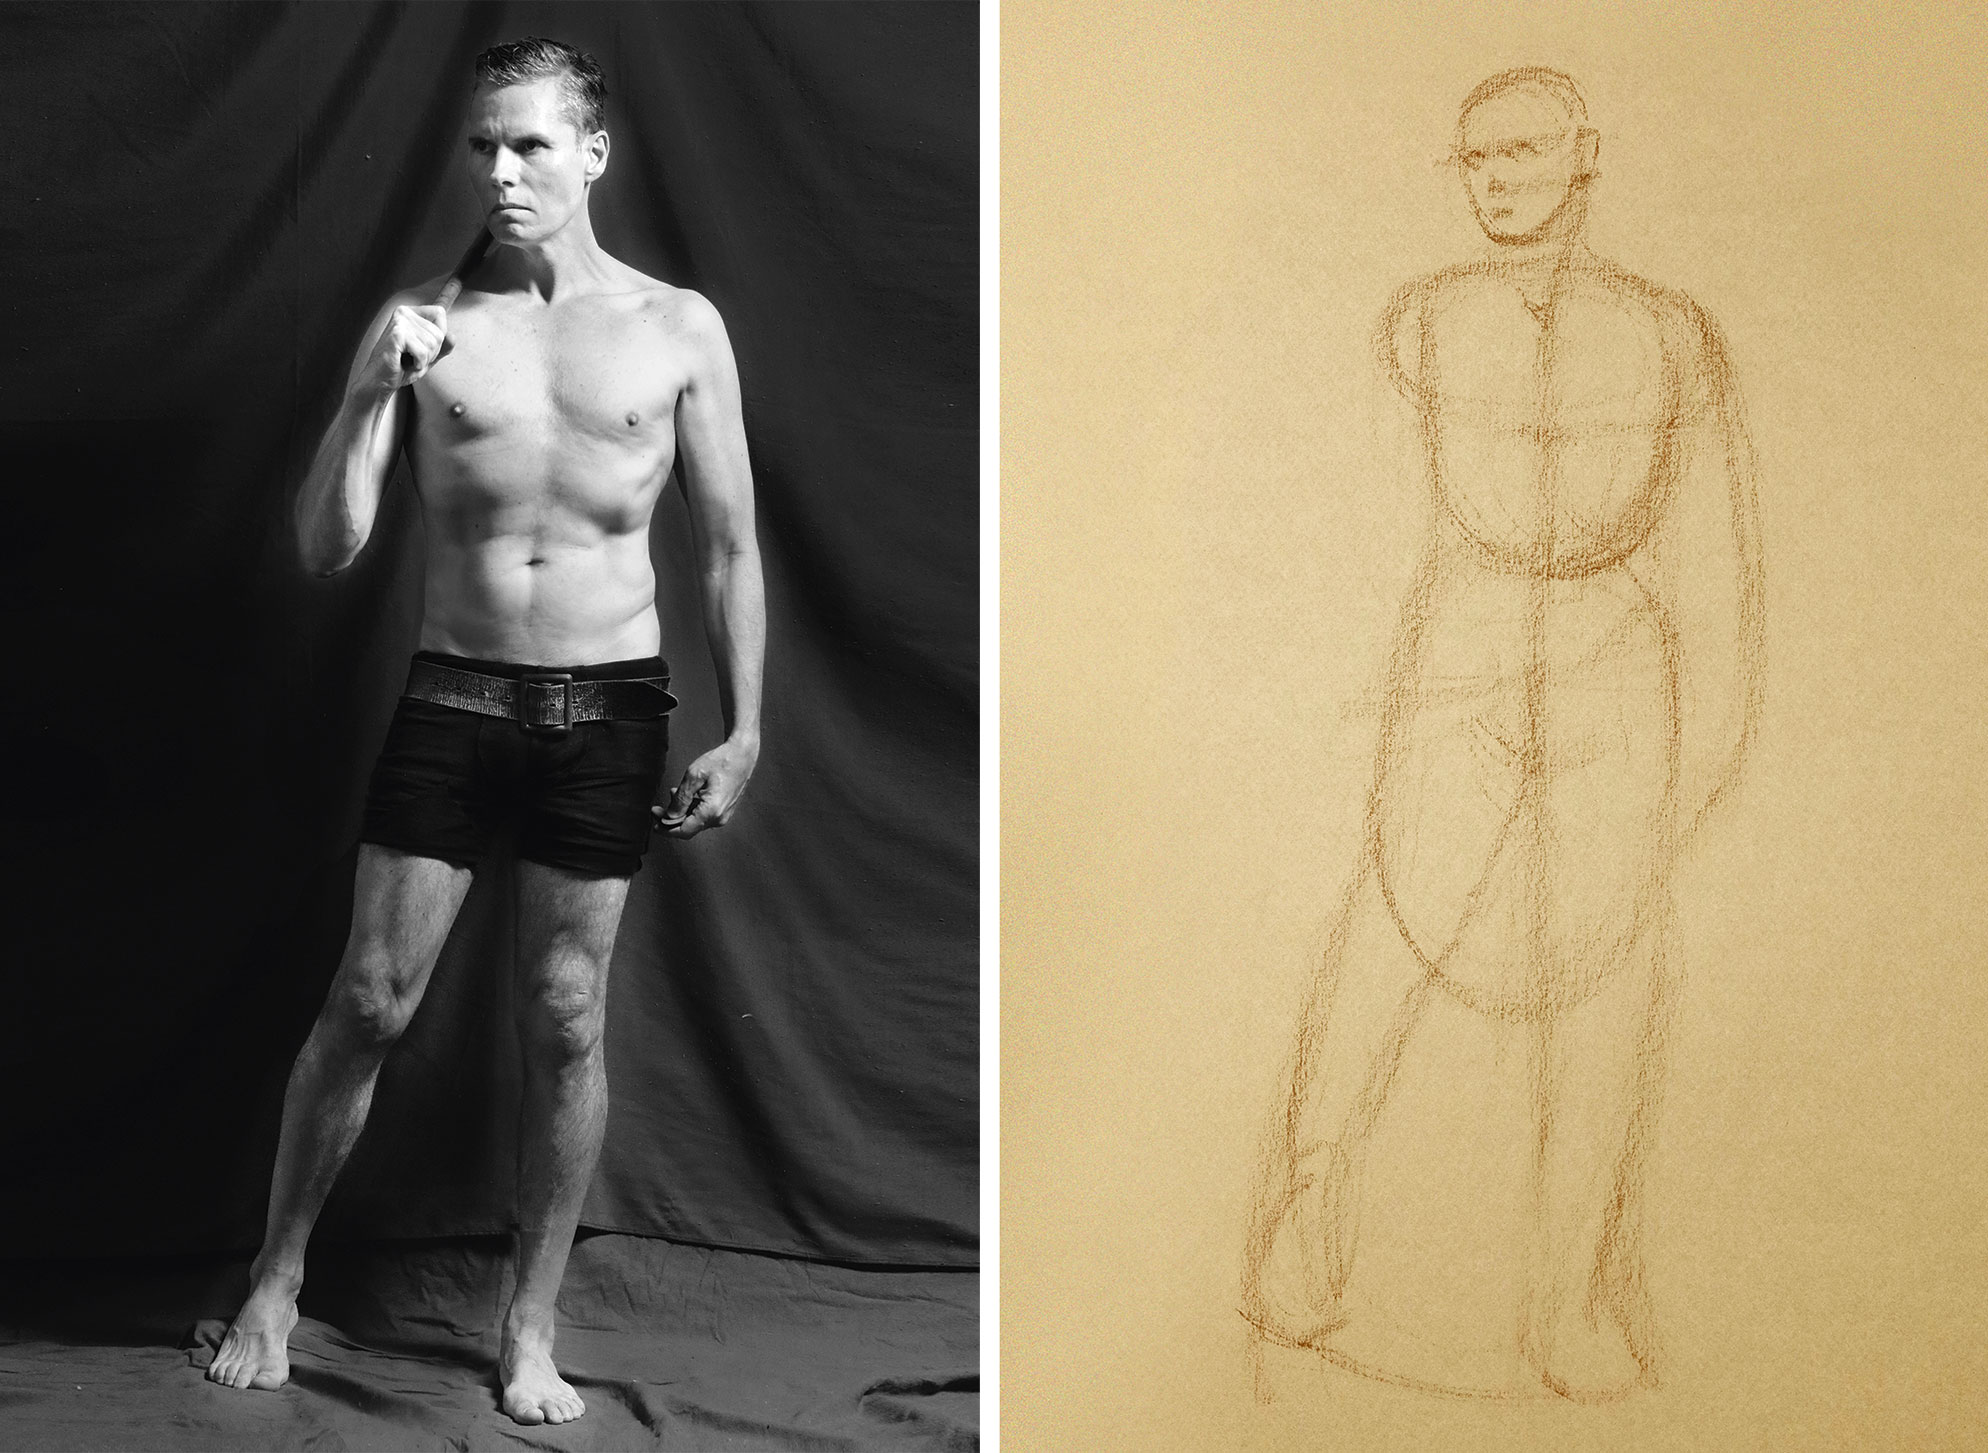
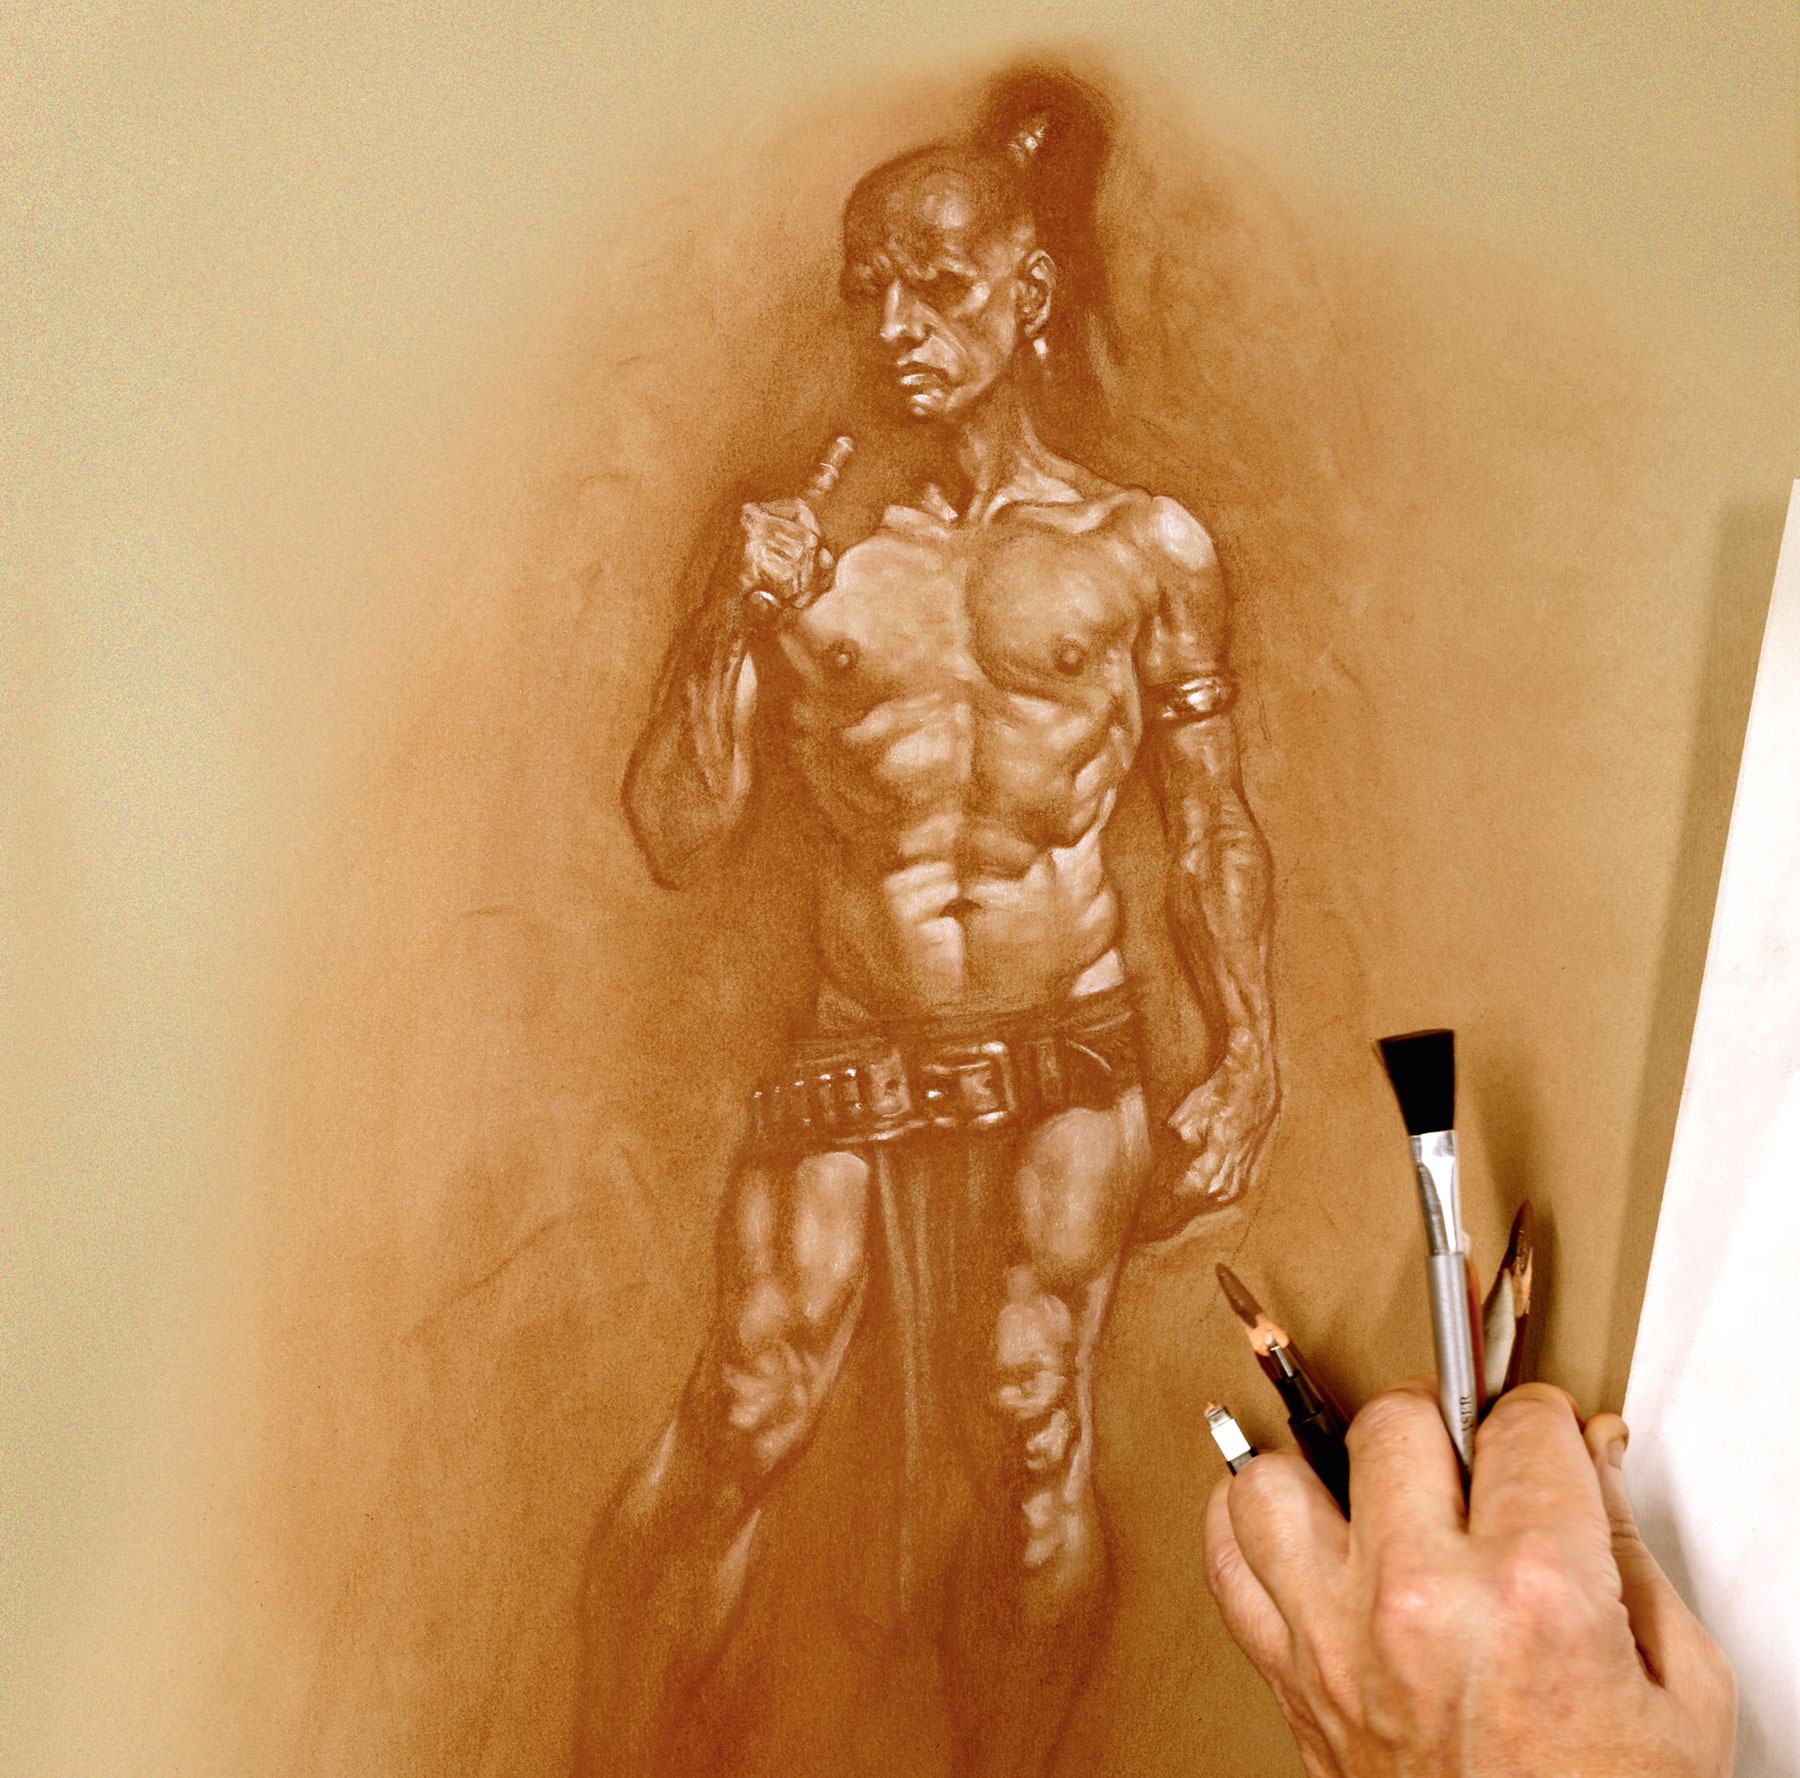
For this drawing I'm using sanguine pastel pencil on toned paper. Sanguine means blood and sanguine pencils can range between dark brown to almost pink. I've chosen a dark sanguine and a flesh-coloured paper. As usual, I start with basic shapes. I then identify the weight-bearing straight leg and tilt the shoulder towards it for more balance.
If you're curious about working with pastels, read our guide to getting started with pastels.
02. Find the rhythm in the pose
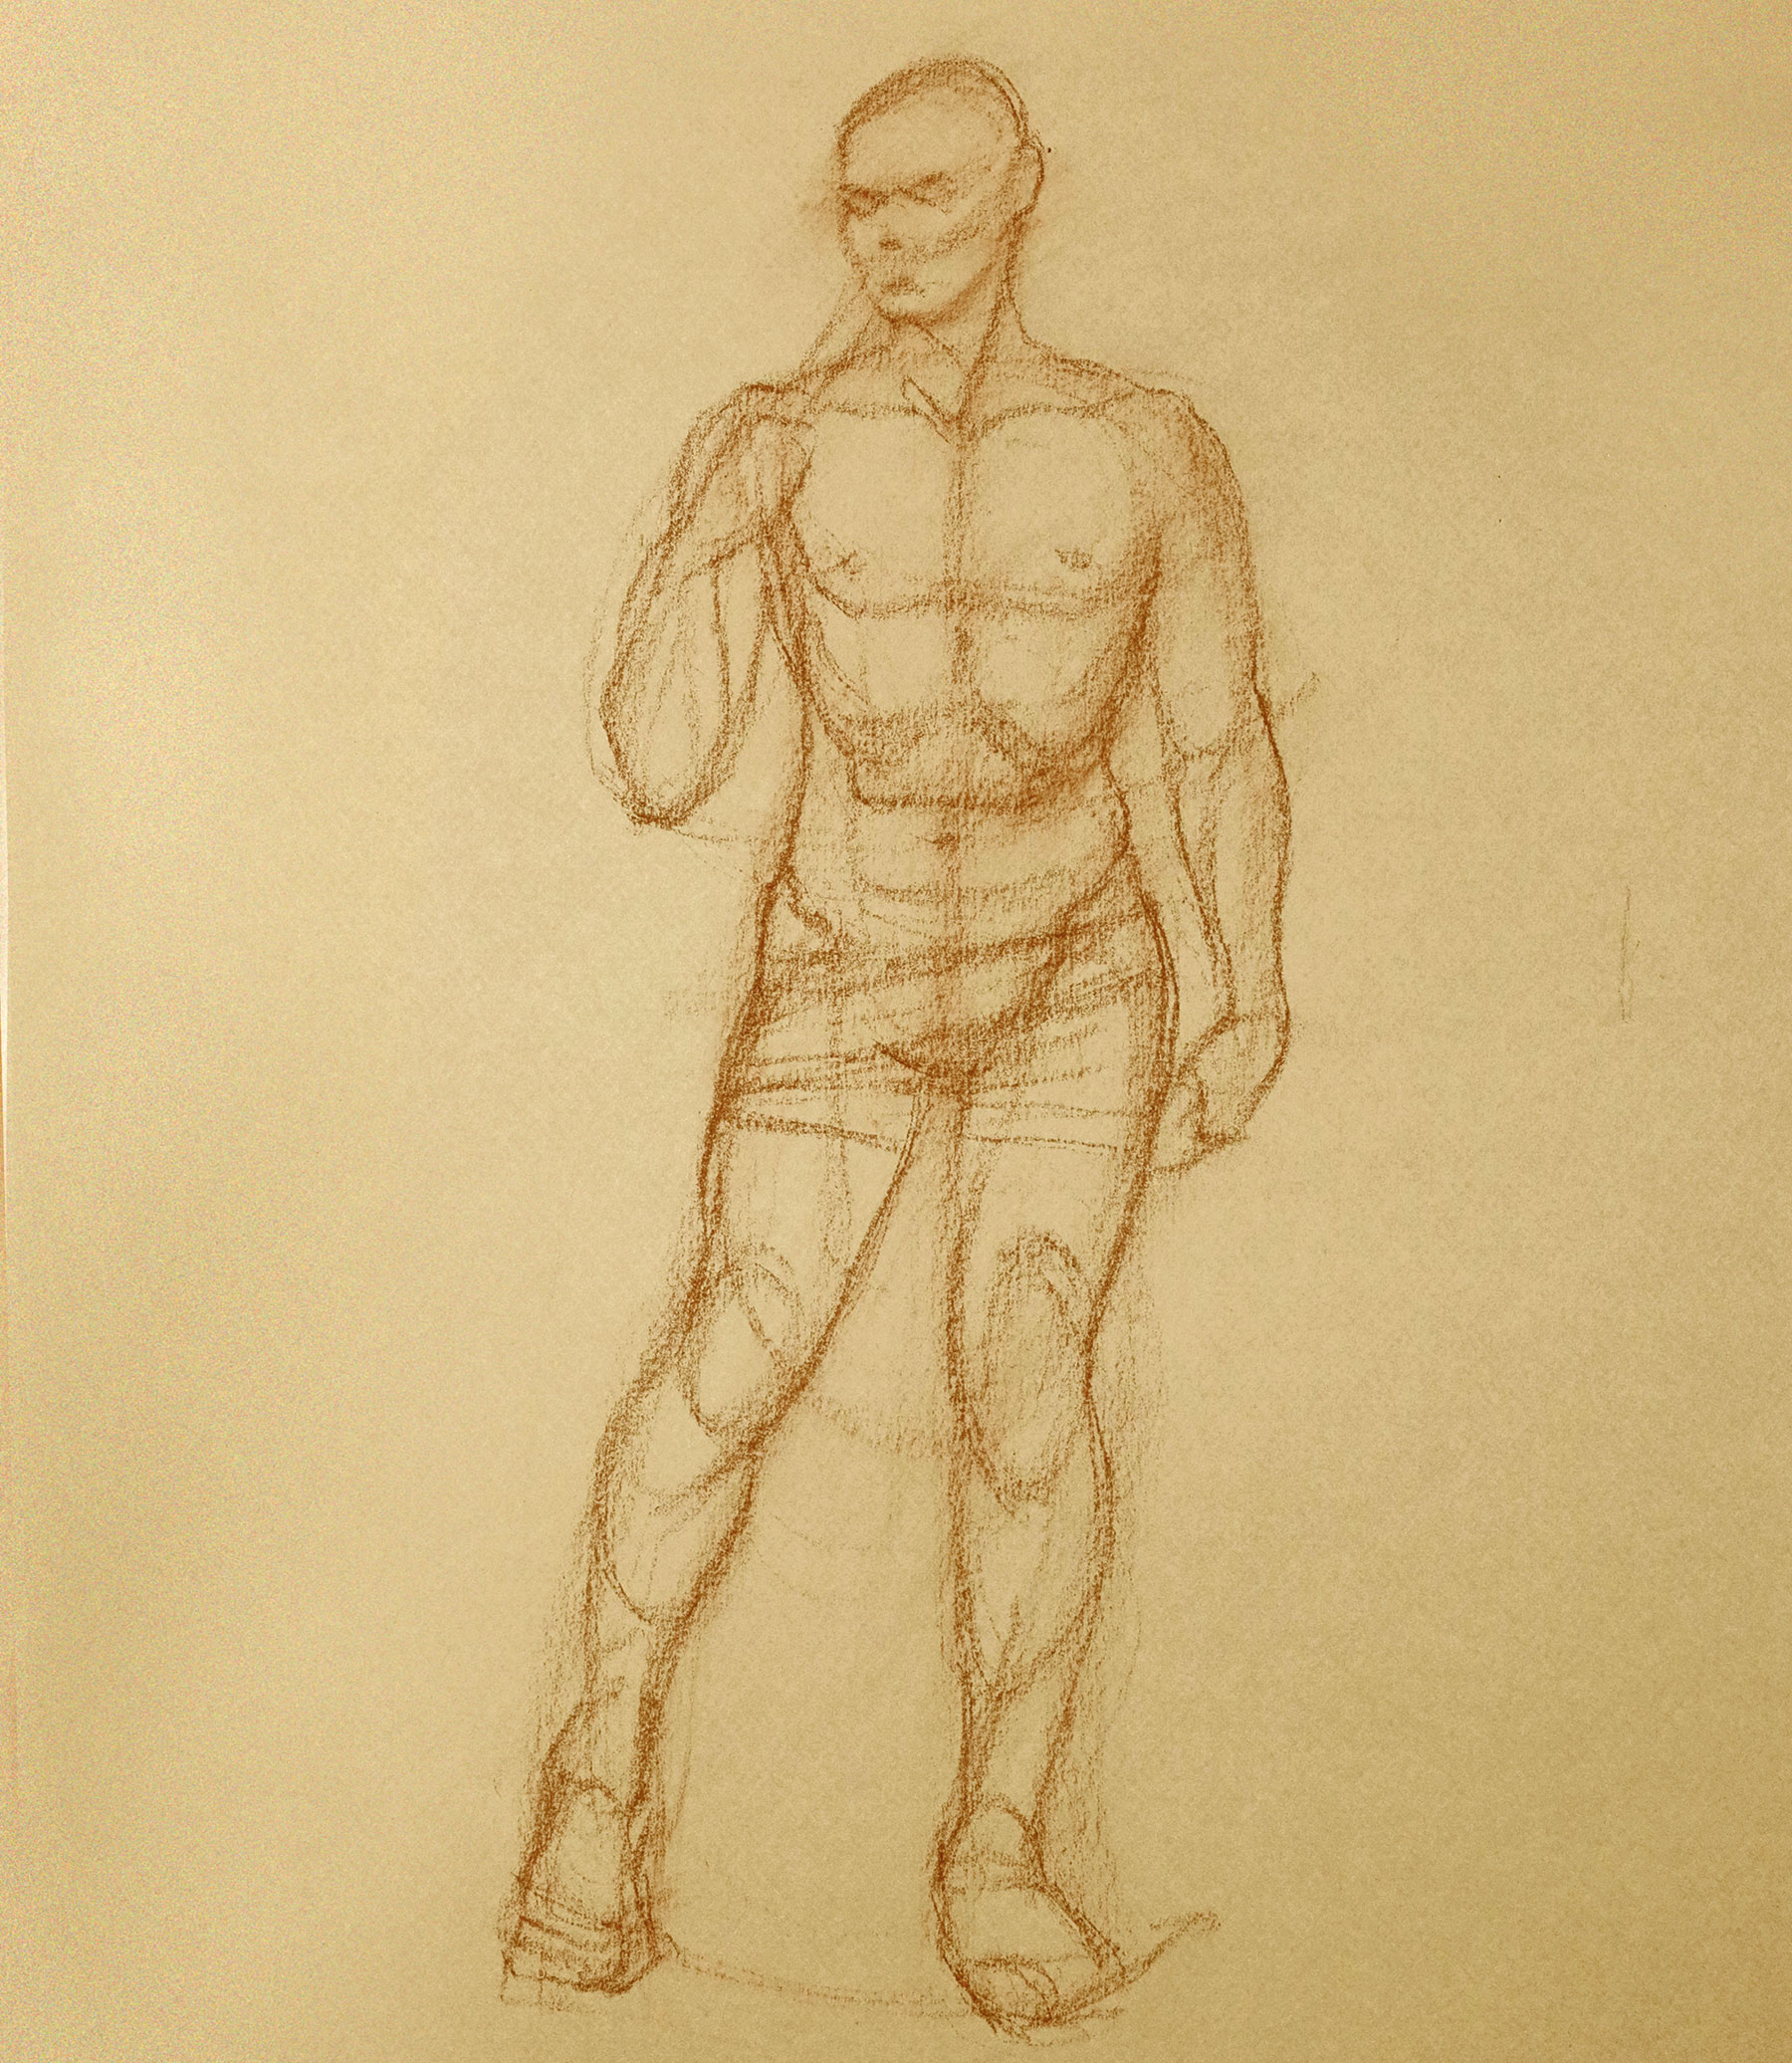
I draw smaller shapes inside the big simple shapes. Notice how I treat the rhythm of the legs; I'm drawing from one side to the other. Study how the knees have a low, overlapping curve on the inside and how the calves are high on the outside. This is the natural rhythm of the body, and cannot be ignored by the figure artist.
03. Smooth out the paper
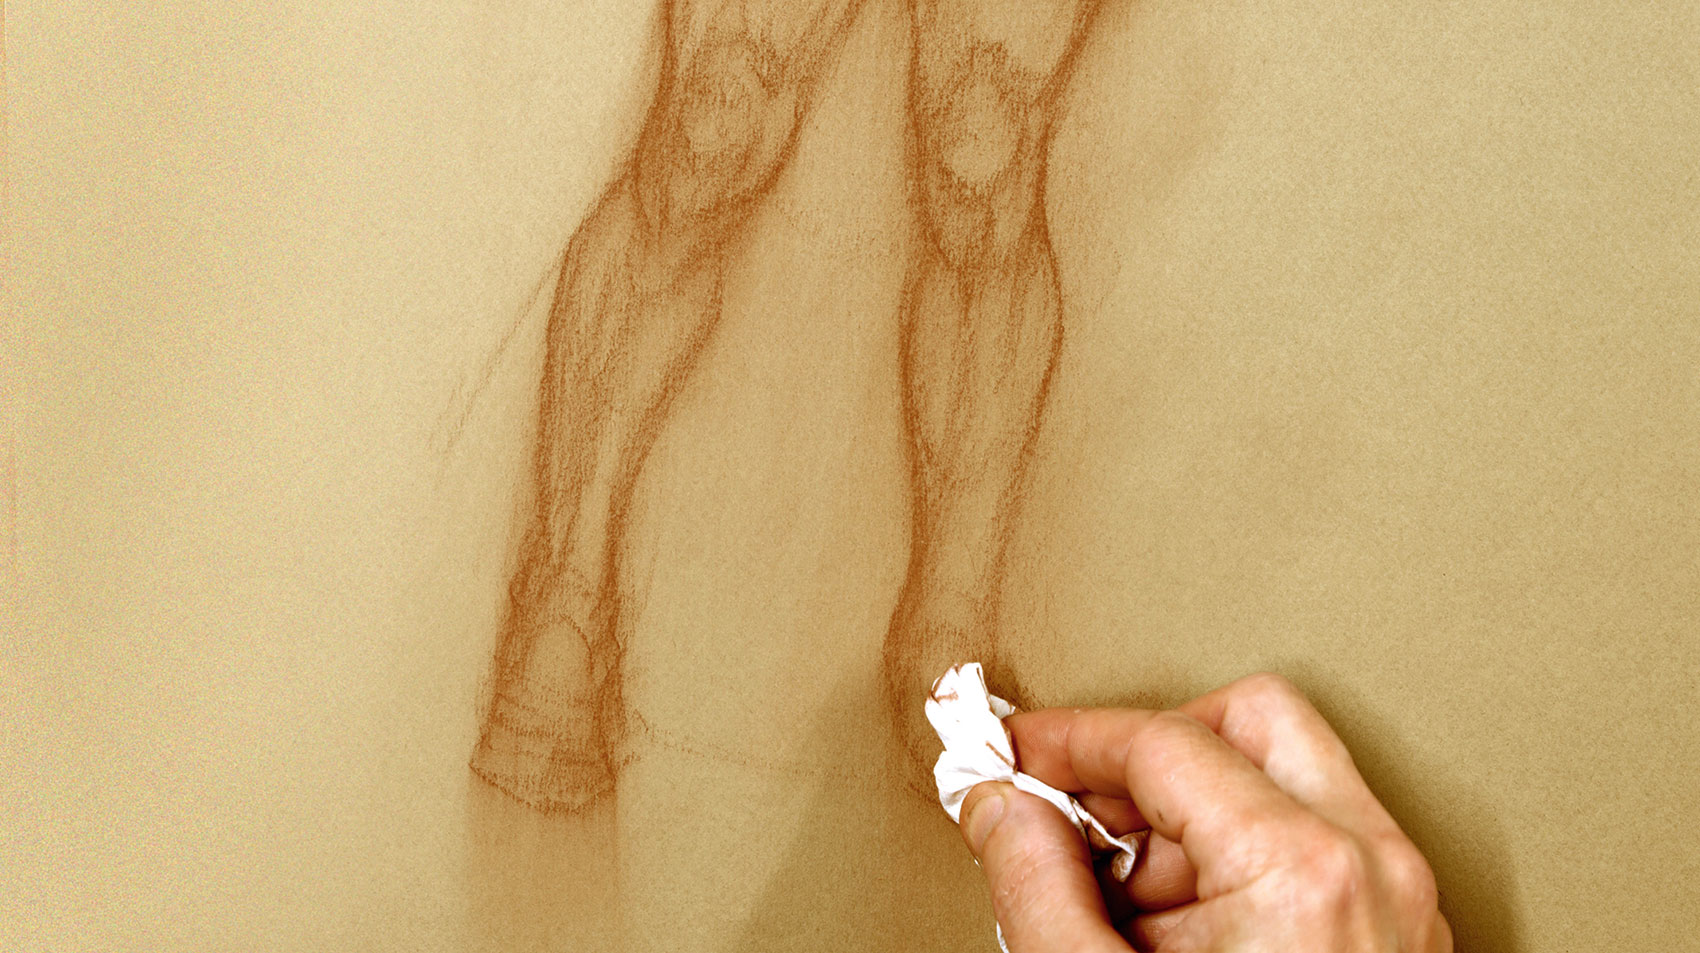
I'm using a high-grade pastel art paper, which can be bought in large individual sheets. Pastel paper has a smooth and a rough side. I choose the smooth side, but it still has a 'tooth', meaning that it has micro pits that hold the pastel pigment. I blend with tissue to smooth out the grain and then ghost the image back.
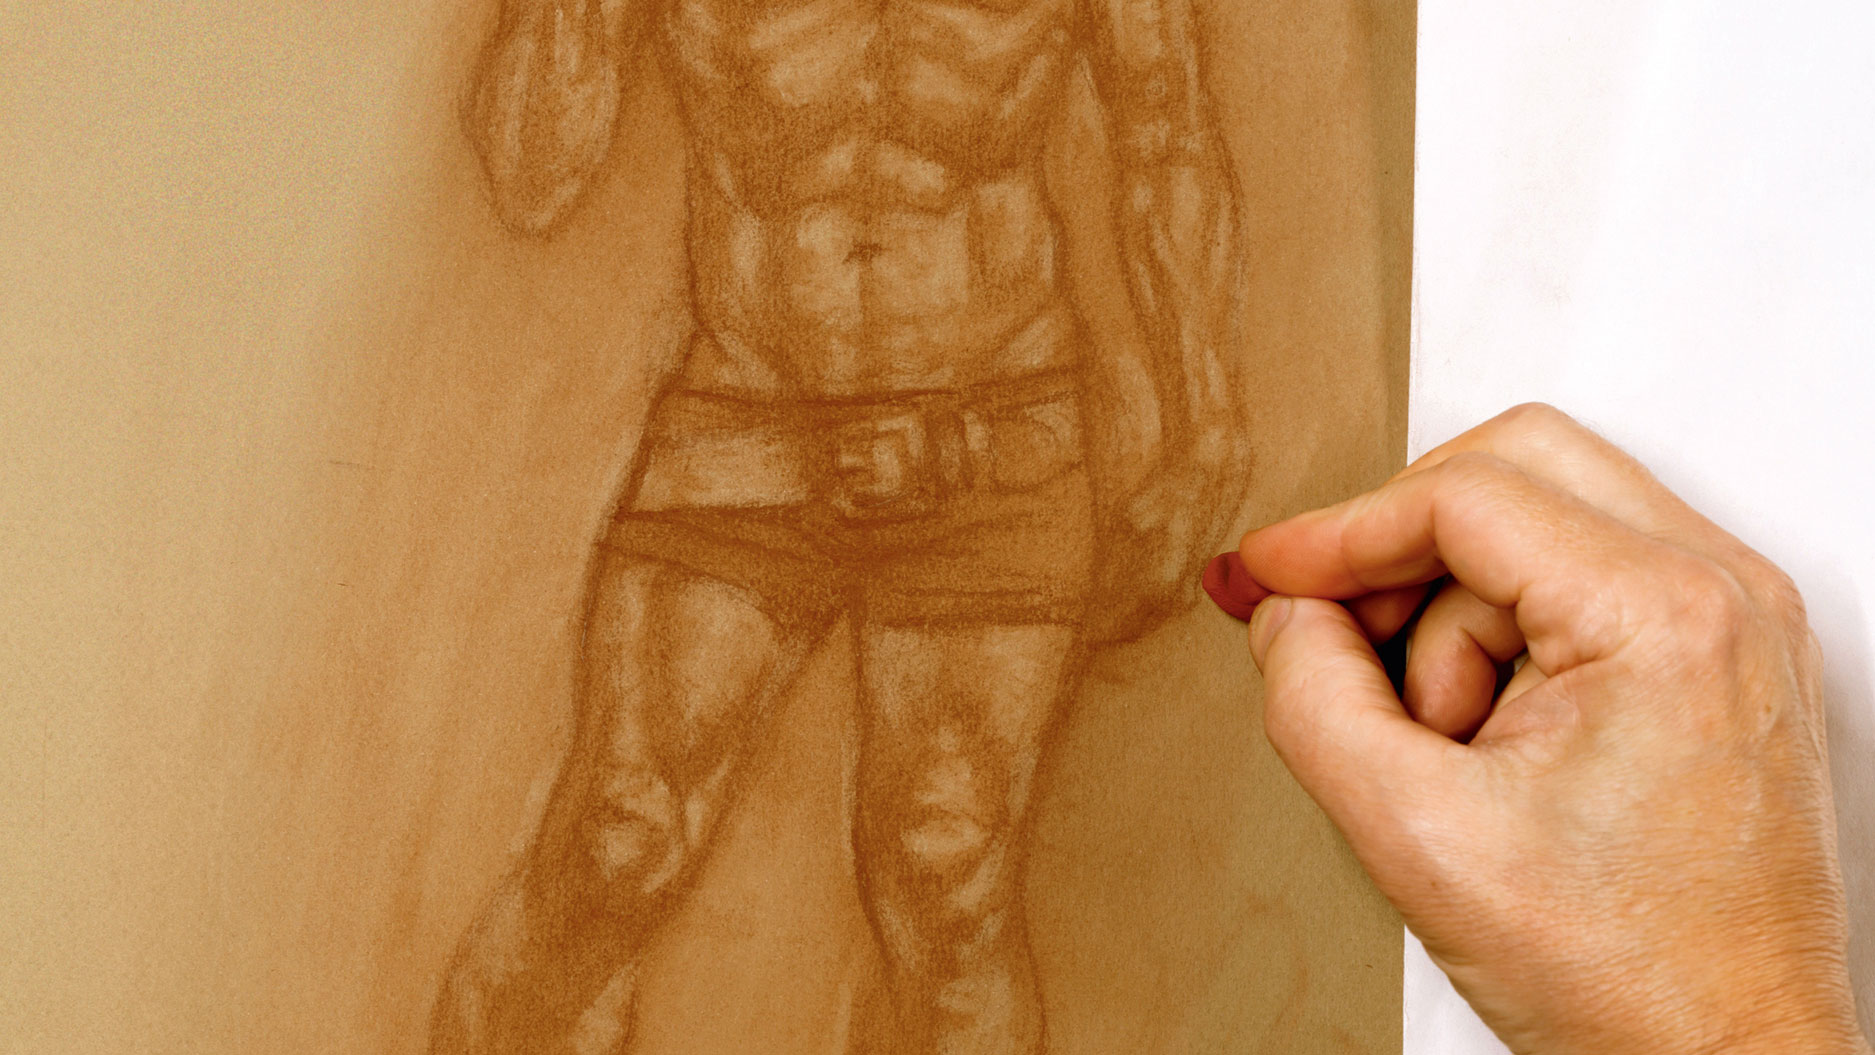
04. Get the head size right
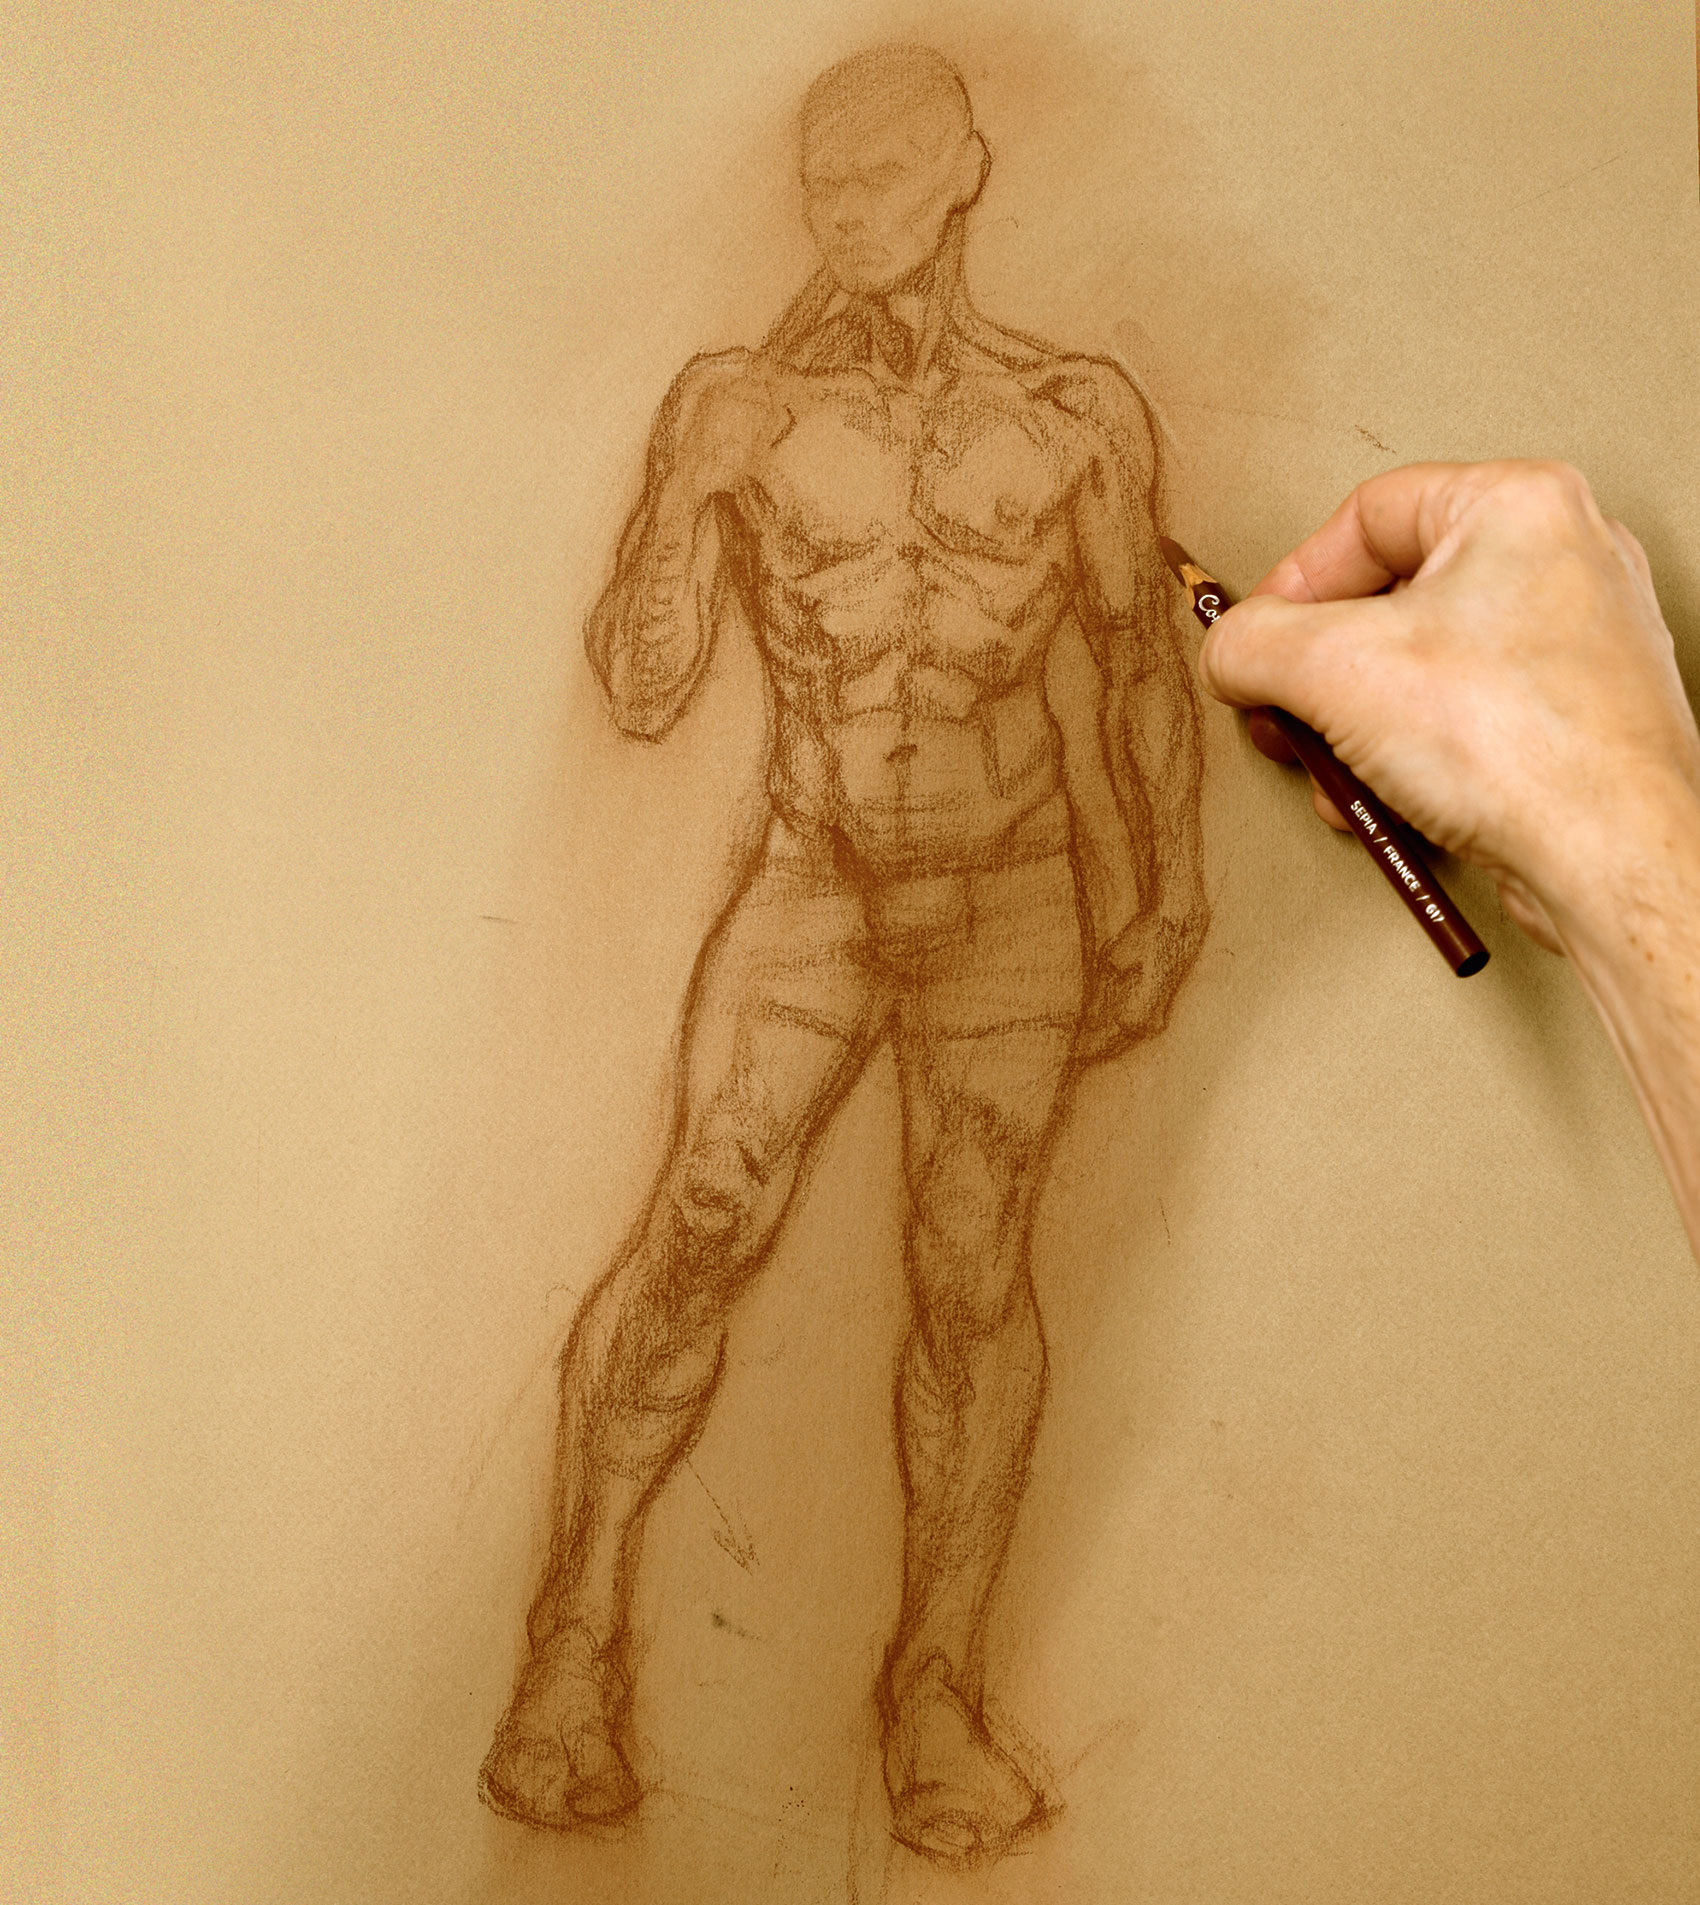
I stand back from the art and see with a fresh eye that the head needs to be bigger. Best to err on the side of a smaller head to start with, rather than a big head, which can look comical. If the head looks small you can try adding to the skull rather than drawing all the features bigger. Usually this works fine. Once I'm happy with the new head size and basic proportions, I start to detail the anatomy.
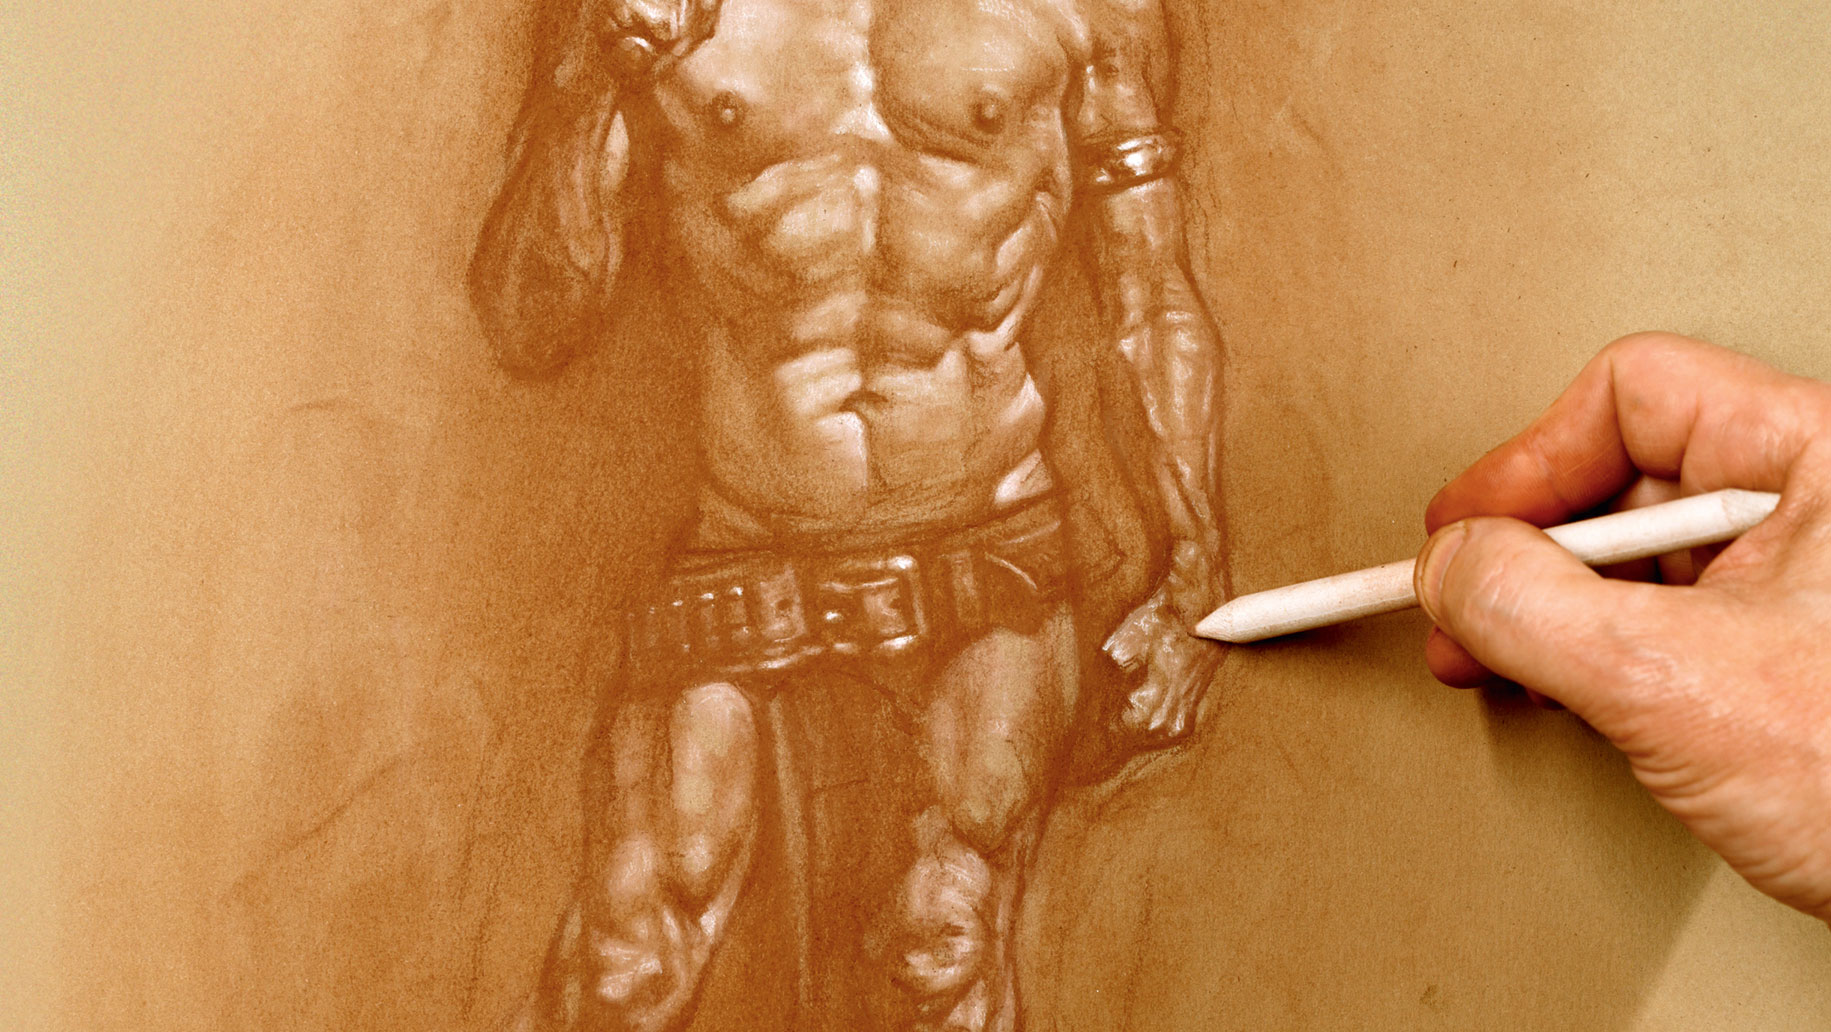
05. Reshape the figure with a paper stump
I blend the edges with a paper stump, improving as I go by reshaping and pushing the pigment around. Be careful not to mindlessly render as it will make the drawing worse. Always think as you render: your drawing will reflect your inner feelings and energy in every mark. I recommend keeping two sets of paper stumps and kneadable erasers so as not to dirty your drawings – one set for sanguine and one set for charcoal.
As with the blending stump, I use the eraser with the same mindset and think of it as a drawing tool. Kneadable erasers are pliable, and can be moulded and shaped to pull out highlights. Note how the knees are changing from simple shapes into something more sophisticated. Going from simple to complex is the best approach.
07. Keep your hand off the paper
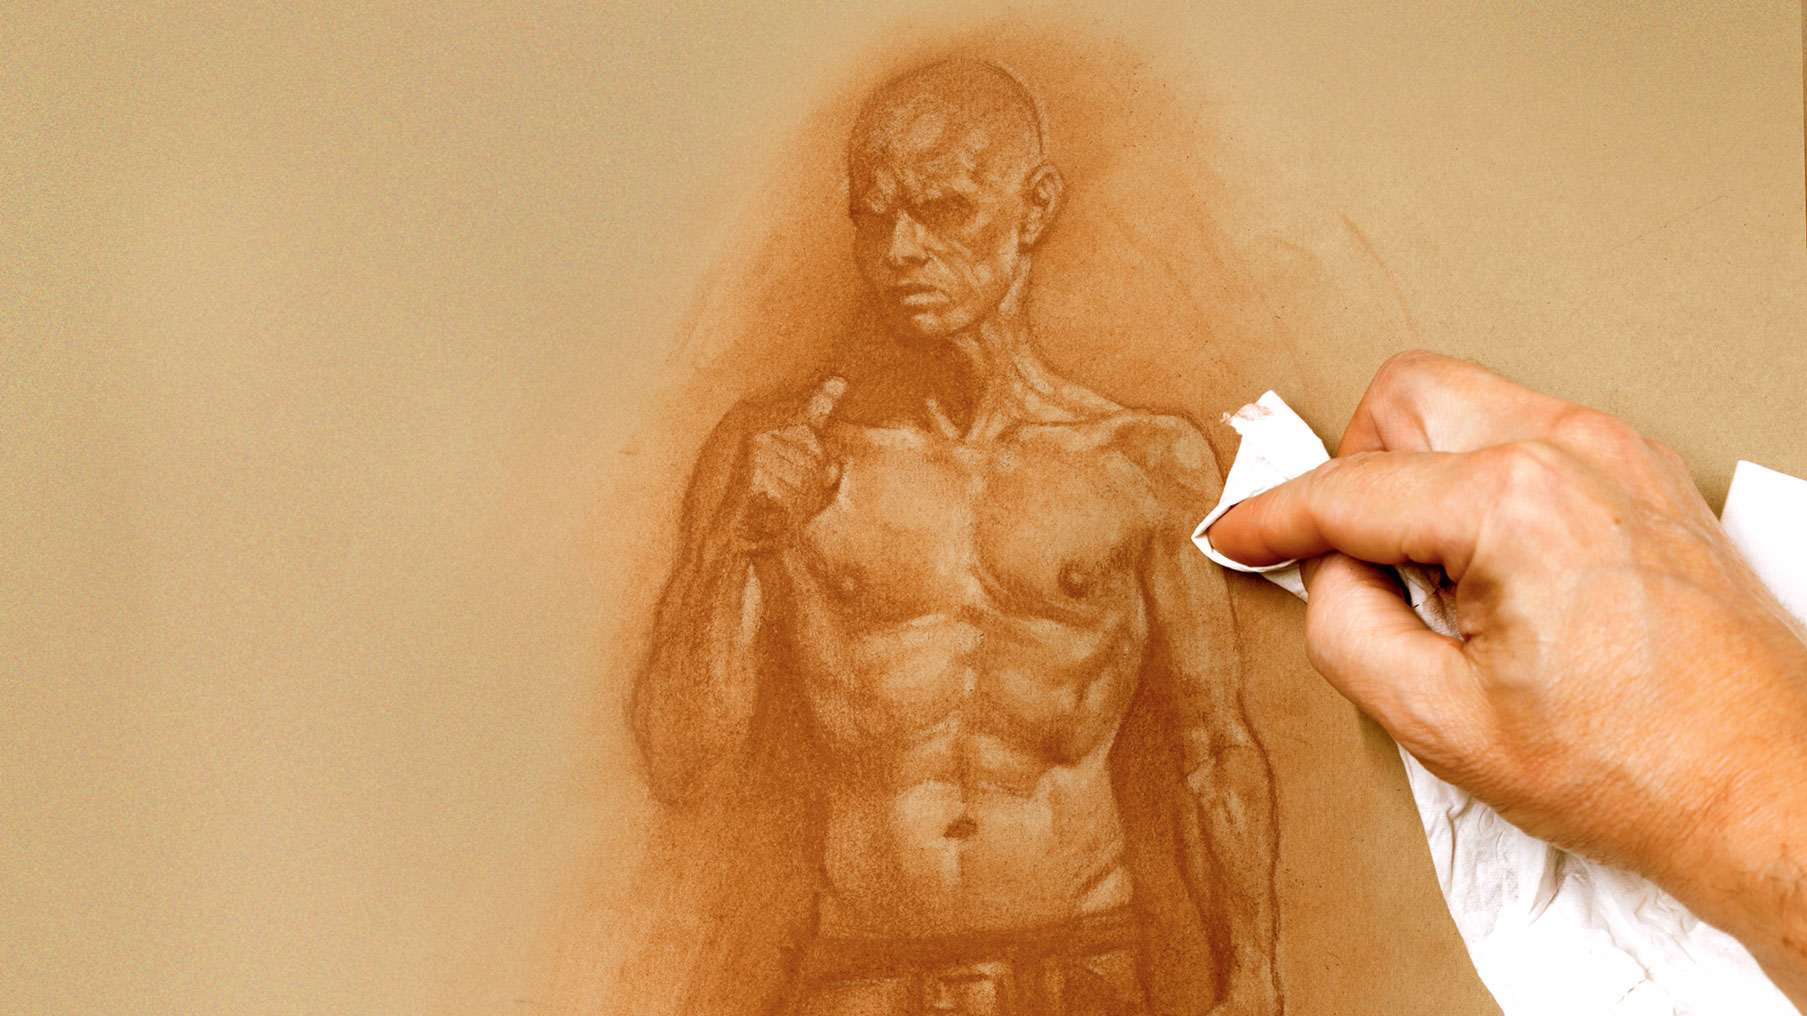
As I soften edges with tissue I keep a piece of paper under my hand. This prevents oil transferring to the paper. Natural oil from our hands can be invisible initially, but then appear as blots when we blend later. This is not a big deal on a textured background, but it could spoil the flawless skin tone that you had hoped for.
08. Use white pastel for highlights
It's been a long time coming but here it is: the white pastel pencil for the highlights. It's important to make sure that the art is already strong, because the white effect shouldn't be used as a crutch. It's also crucial not to mix the sanguine with the white, because the midtone paper represents the midtone flesh of the figure.
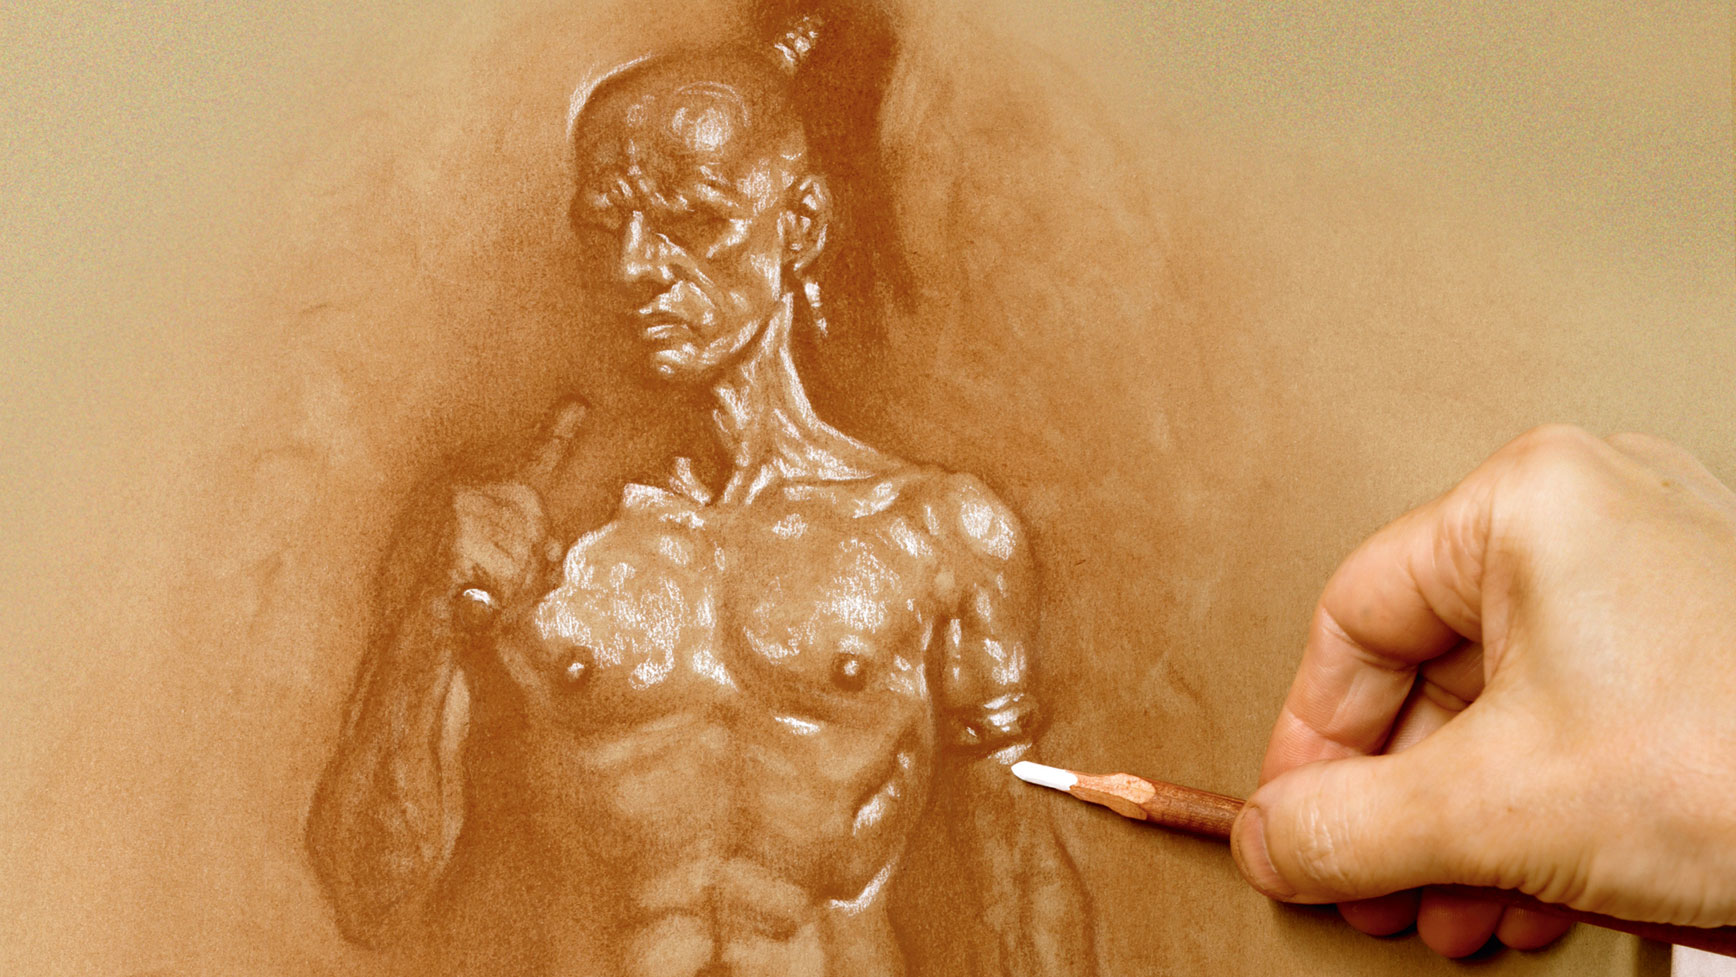
09. Blend and push
Using all my tools, I blend and push the white pigment into the surface. Note how fleshy everything has become based on three simple values: the darks of the sanguine; the midtone of the paper; and the highlights of the white. My pencil eraser with the brush end comes in handy for brushing away eraser debris.
10. Tackle anatomical details
Time to address the small stuff and explore the beauty of anatomy and form. Constant study of the knees is important because everyone's knees are different due to variable 'bursa' shapes. These are little fatty pads that protect the joints. Note that I'm using a clean paper stump for blending whites.
11. Sharpen your lines
Using a mono eraser, I thin down some of the lines. Pastel paper is wonderful to work with, but due to the grain it's a fight to achieve thin lines when working on a relatively small scale. This drawing would be easier to work with at twice this size, but there are always workarounds.
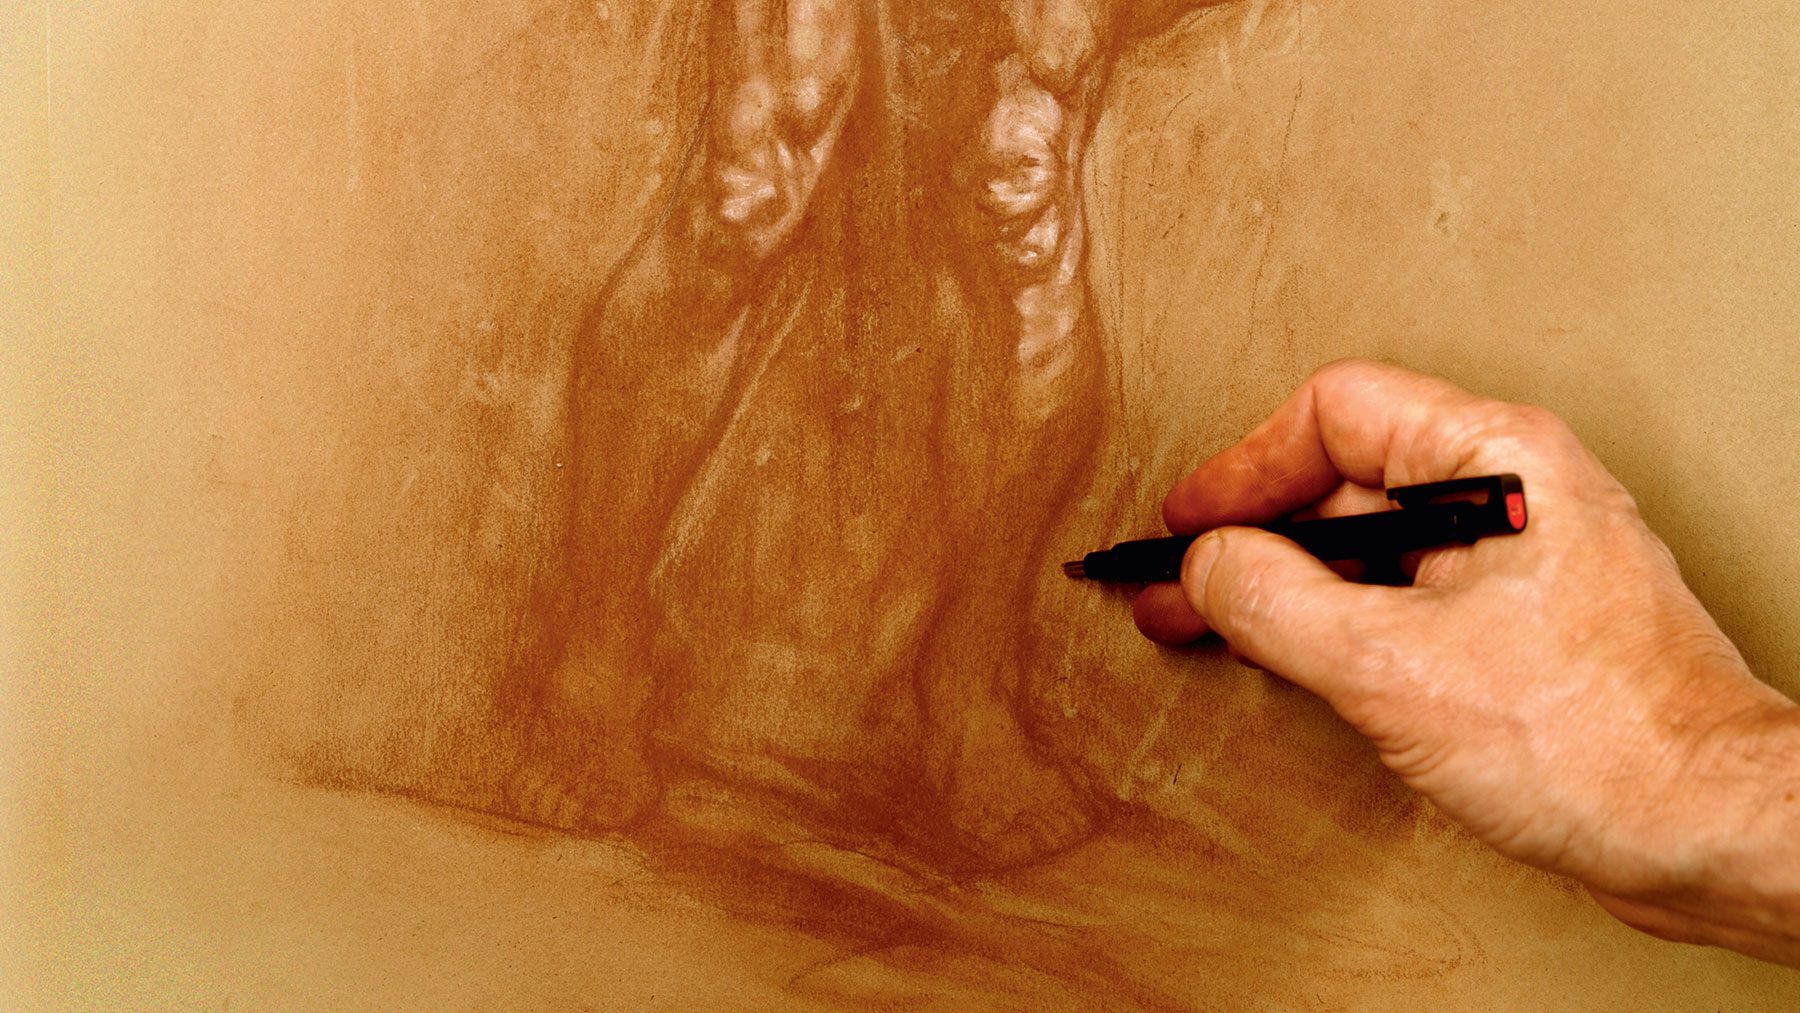
12. Add texture in the background
Using erasers, tissue and paper stumps for background texture draw the eye to the contrasting tones of the smooth skin. Sanguine on toned paper is slow, but worth the effort. I spend over three hours pushing and blending into the grainy surface. Take time over your sanguine drawings and you'll be rewarded.
Next page: A guide to gesture drawing
How To Draw A Man Figure
Source: https://www.creativebloq.com/how-to/how-to-begin-a-figure-drawing/2
Posted by: smithgert1936.blogspot.com
0 Response to "How To Draw A Man Figure"
Post a Comment